How to build a lure
Glen Orchard2026-06-27T15:00:22+10:00Building a fishing lure can be as simple or as advanced as you like. A basic hard-bodied lure is a good starting point because it teaches the key principles: shape, balance, buoyancy, and action.
Materials
- Timber (cedar, balsa, paulownia, or similar lightweight wood)
- Sandpaper (80, 120, and 240 grit)
- Craft knife, rasp, or carving tools
- Stainless steel wire (0.8–1.2 mm)
- Split rings
- Treble hooks
- Epoxy resin or clear coat
- Paints (acrylic or airbrush paints)
- Lead wire or small sinkers (for weighting)
- Drill and small drill bits
Step 1: Choose the Lure Type
For beginners, a simple minnow or crankbait is easiest.
Common lengths:
- Bream: 40–60 mm
- Bass: 50–80 mm
- Flathead: 60–100 mm
- Murray cod: 100–180 mm
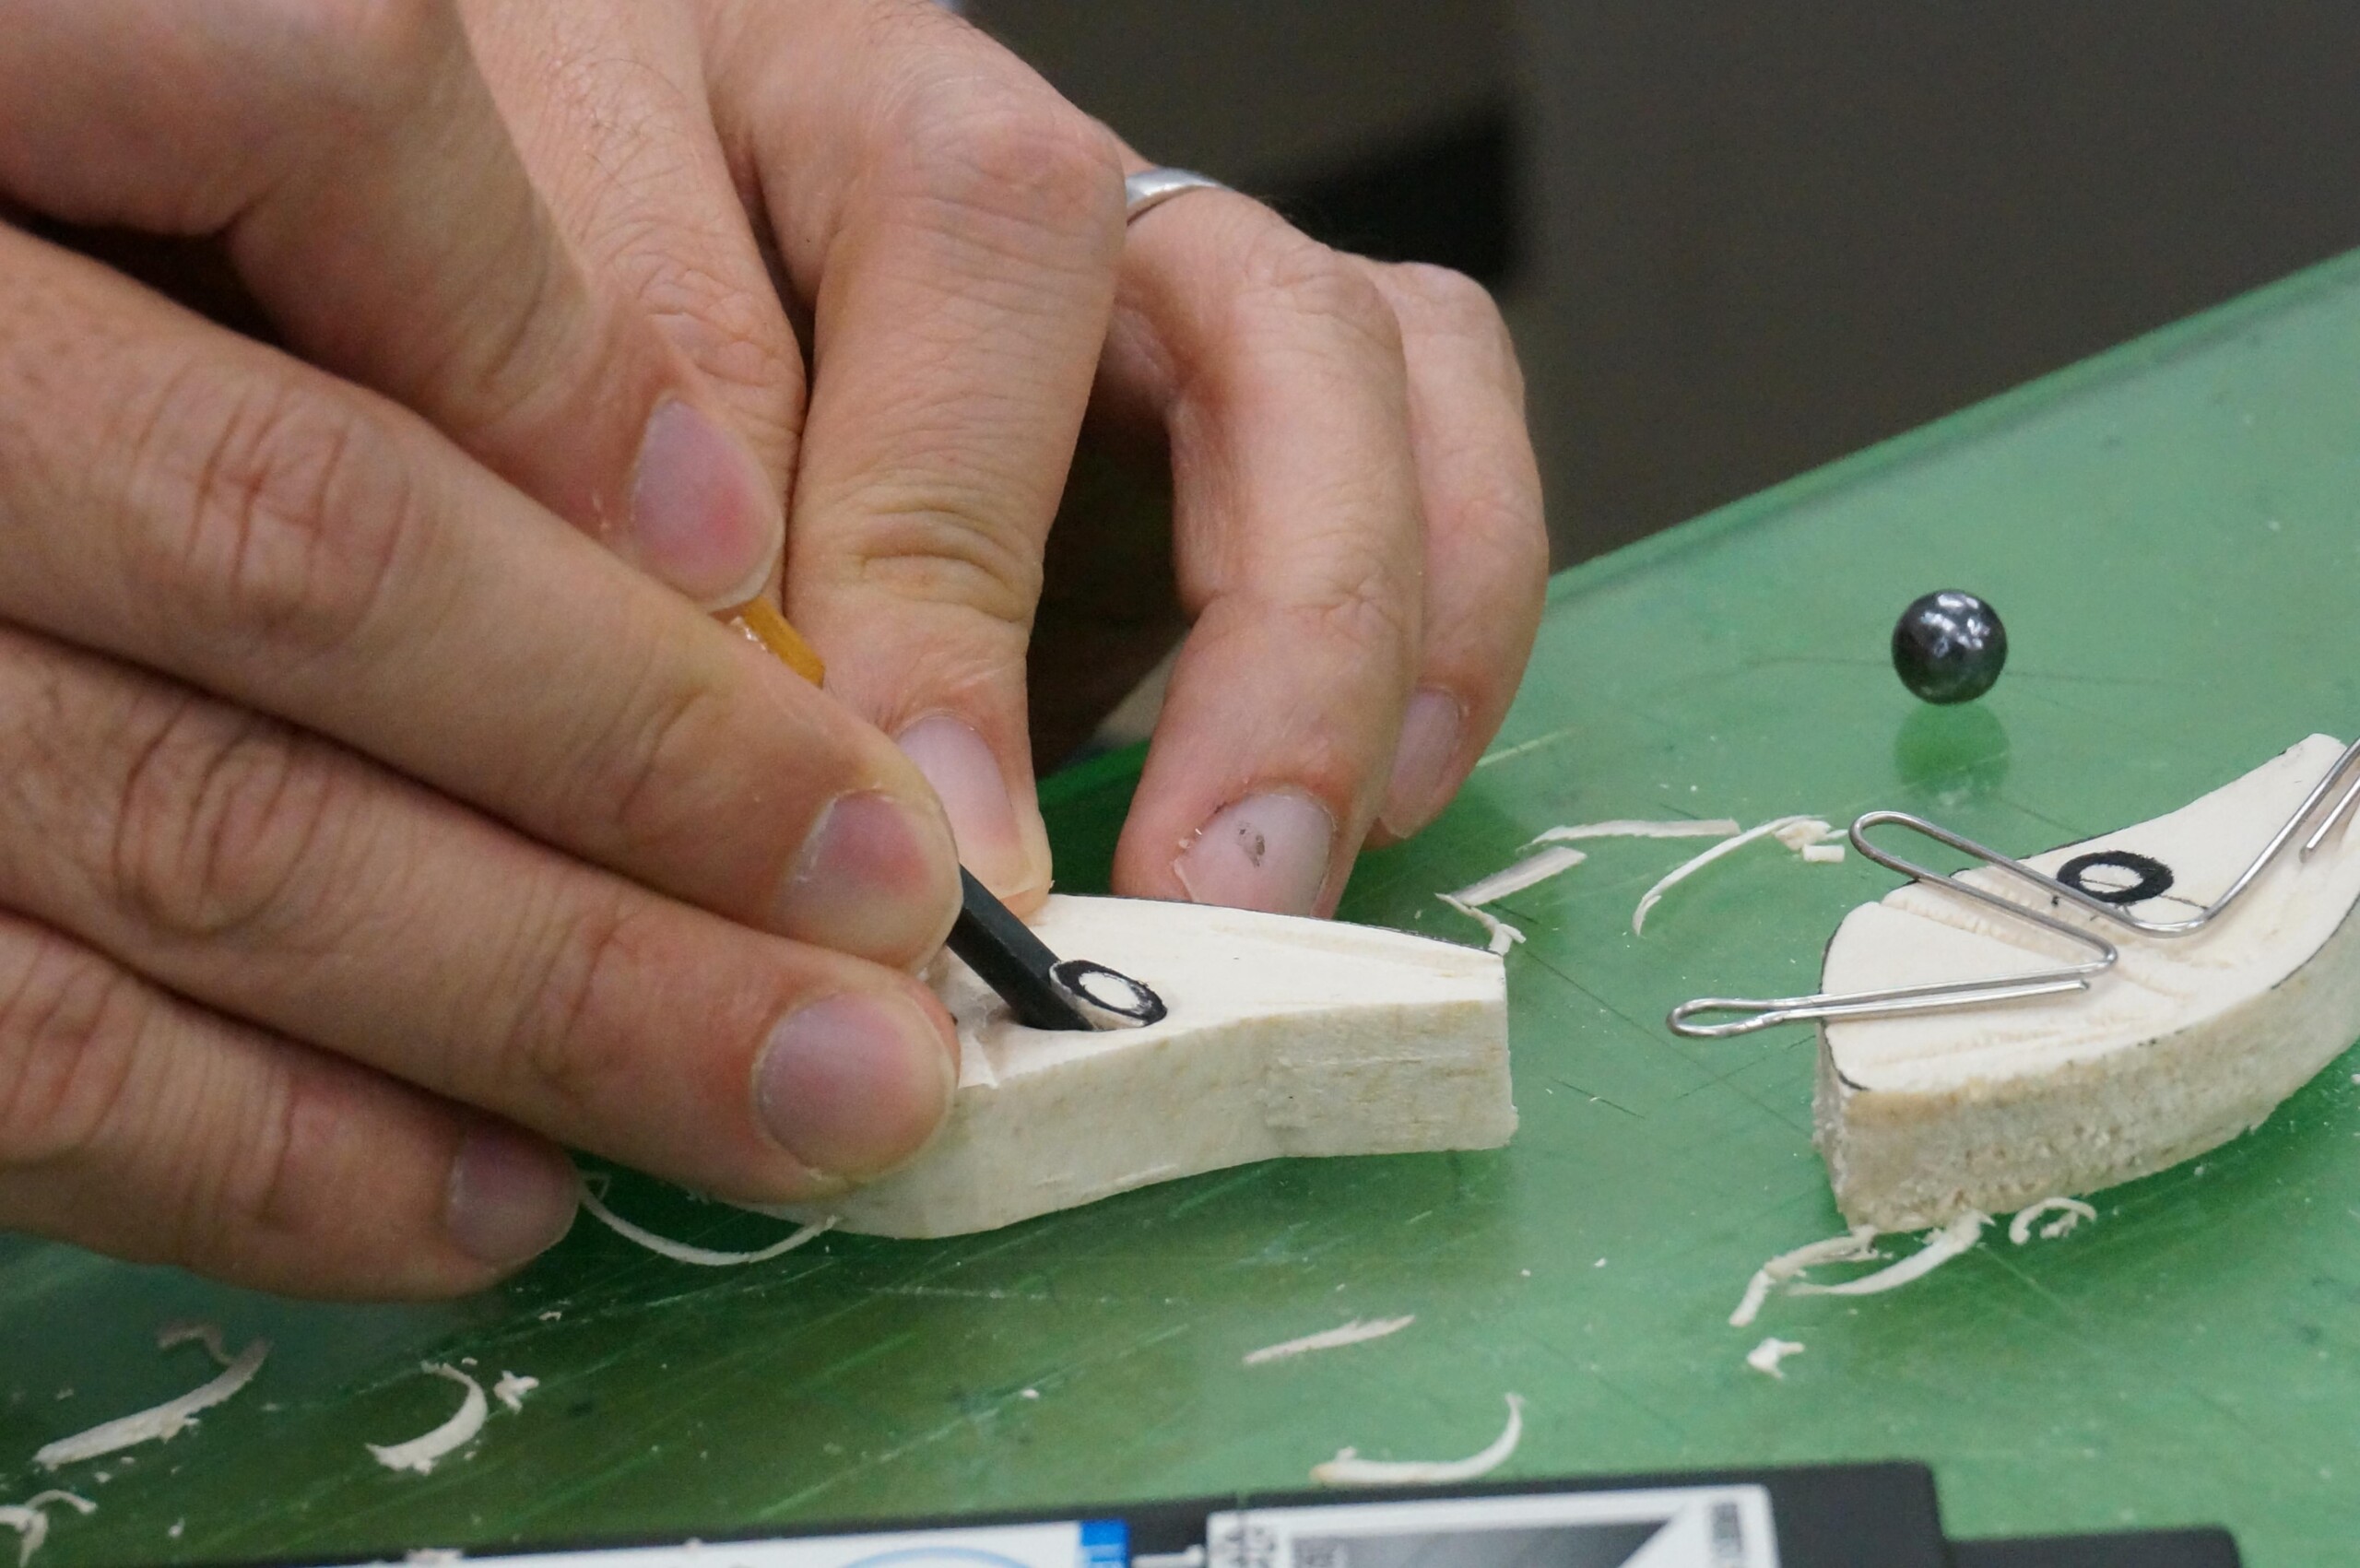
Step 2: Create the Body
Draw the lure profile on timber.
Example:
     _______
 ___/       \___
/               \
\___         ___/
    \_______/
Cut out the shape and carve it until both sides are symmetrical.
Sand smooth.
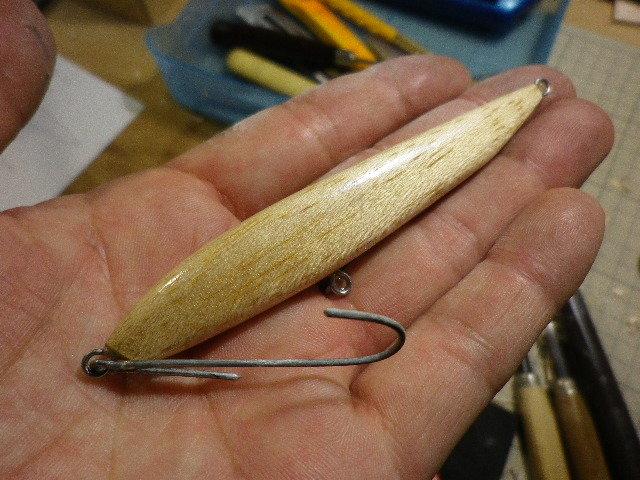
Step 3: Install the Wire Harness
The strongest method is a through-wire system.
Tow point
    |
----|----------------
    |
 Hook hanger
Cut a groove along the centreline.
Bend stainless wire to create:
- Front tow point
- Belly hook hanger
- Rear hook hanger
Glue into the groove with epoxy.
Step 4: Add Weight
Weight determines:
- Casting distance
- Swimming action
- Buoyancy
For a floating lure:
- Small weight near the belly
For a suspending lure:
- More weight centred under the body
Test frequently in a bucket of water.
Step 5: Fit the Diving Bib (Optional)
For a crankbait or minnow:
Cut a slot at the nose.
Install a bib made from:
- Polycarbonate
- Lexan
Bib angle controls depth:
- Steep angle = shallow diving
- Shallow angle = deeper diving
Step 6: Seal the Timber
Apply:
- Sanding sealer
- Epoxy
- Polyurethane
Allow to cure completely.
Sand lightly between coats.
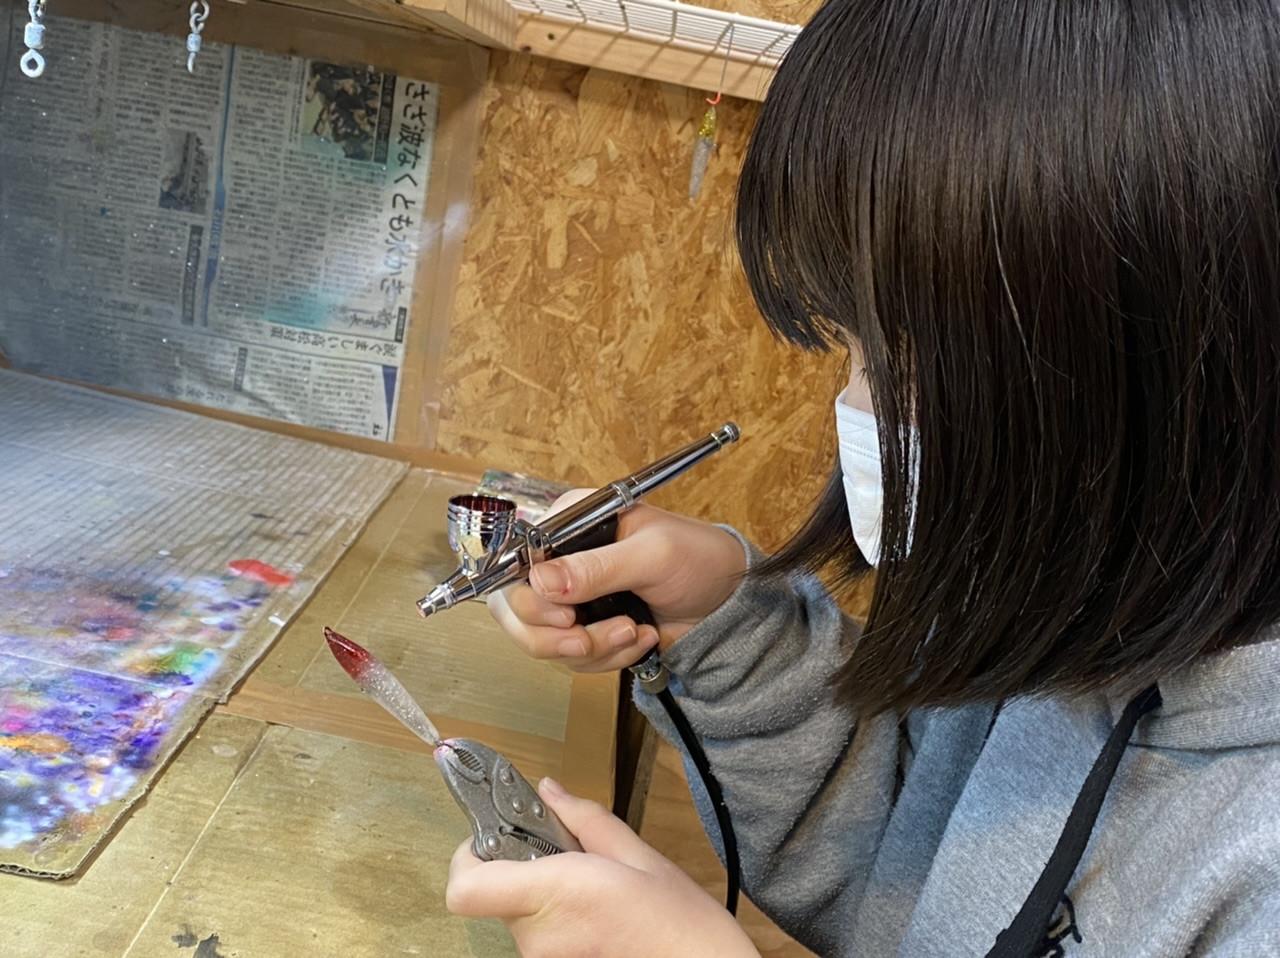
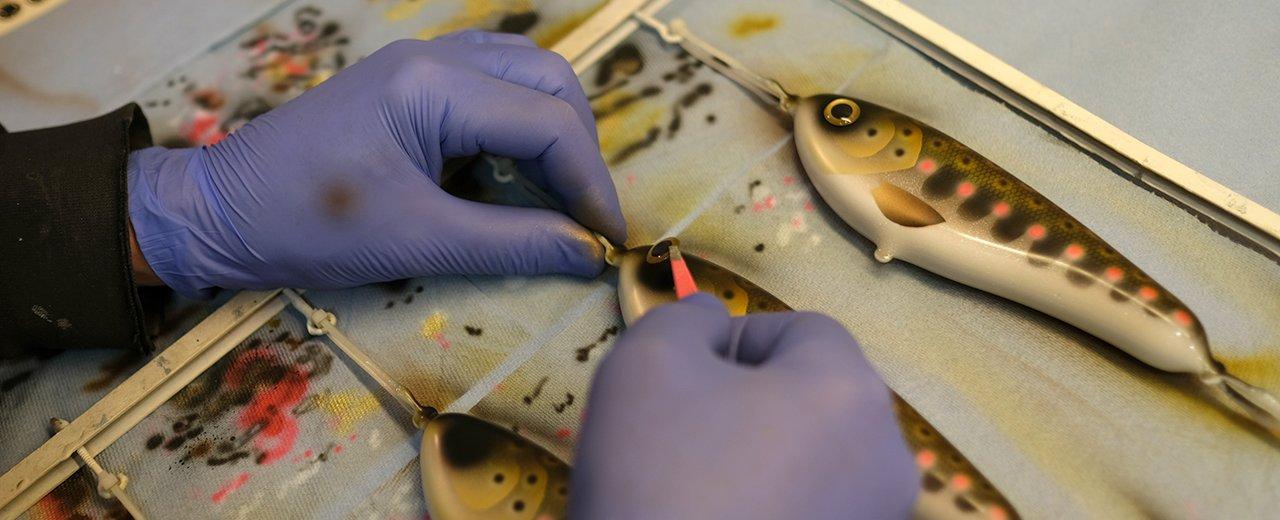
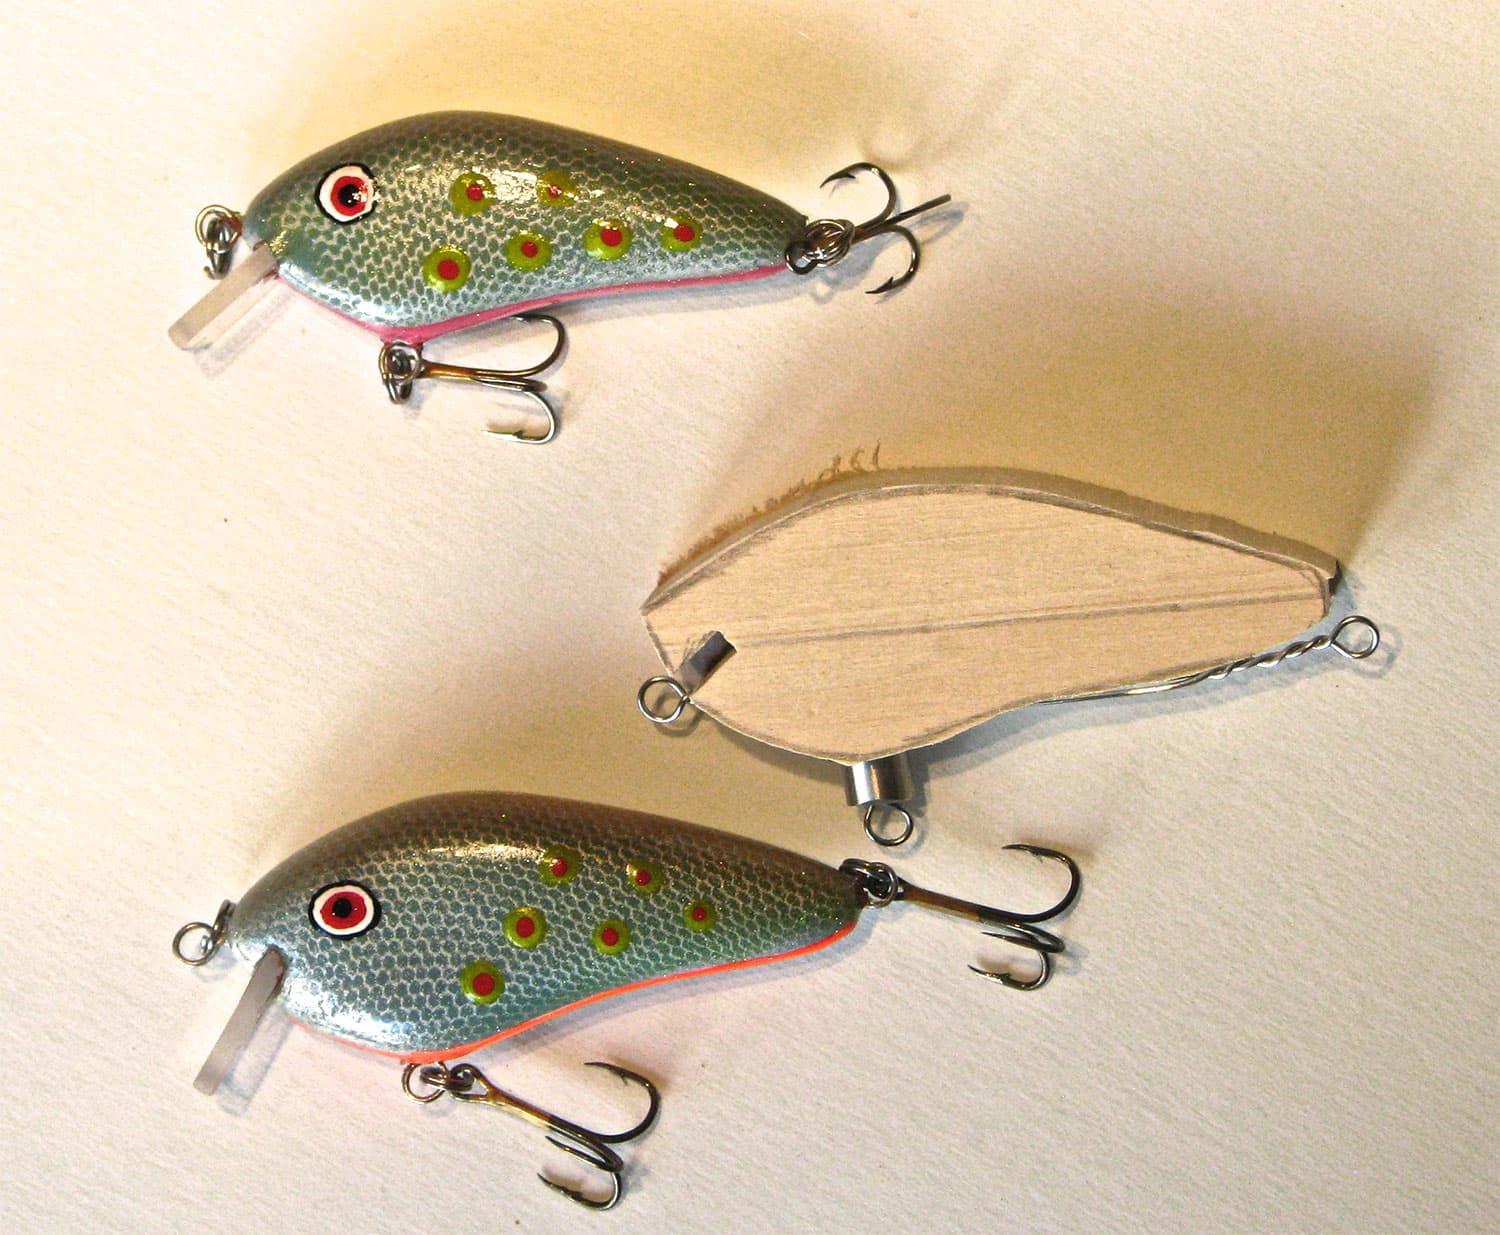
Step 7: Paint
Typical process:
- White base coat
- Main colour
- Back colour
- Scale pattern (optional)
- Eyes
- Detail markings
Popular Australian colours:
- Gold/black
- Olive perch
- Purple
- Pink
- Fluoro chartreuse
- Ayu
- Ghost baitfish
Step 8: Clear Coat
Apply:
- 2-part epoxy
- Automotive clear
- UV resin
This protects the paint from fish teeth and rocks.
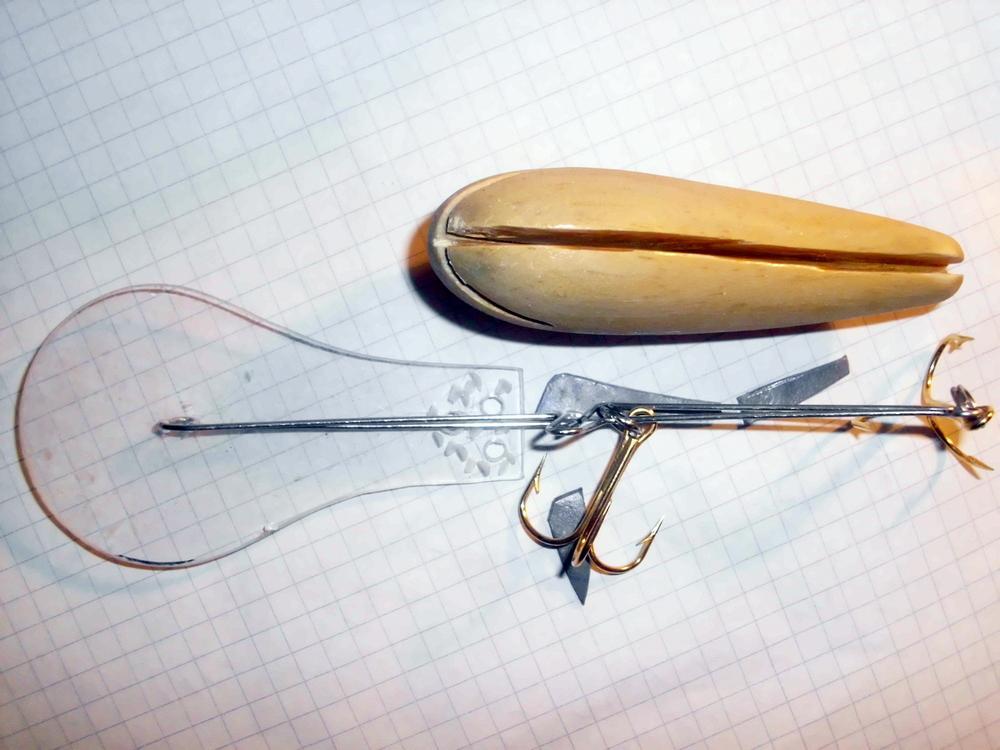
Step 9: Install Hardware
Attach:
- Split rings
- Treble hooks
Typical sizes:
| Lure Length | Hook Size |
|---|---|
| 40–50 mm | #12–#10 |
| 60–80 mm | #8–#6 |
| 90–120 mm | #4–#2 |
Step 10: Water Test
Test in:
- Swimming pool
- Bucket
- Local waterway
Check:
- Does it swim straight?
- Does it roll over?
- Does it dive correctly?
- Is the action tight or wide?
Small adjustments to the tow point can dramatically change the action.
Example: Simple 70 mm Australian Bass Crankbait
Body: Paulownia
Length: 70 mm
Weight: 6 g
Bib: 20 mm polycarbonate
Hooks: Size 6 trebles
Action: Medium wobble
Target species: Bass, perch, bream, estuary perch